Creating & Using Saved Filters
Create complex filters to apply wherever you need them. Saved filters allow you to set up more advanced filter options and use them over and over again with a single click, rather than manually addin…
Create complex filters to apply wherever you need them
Saved filters allow you to set up more advanced filter options and use them over and over again with a single click, rather than manually adding each filter component. This also reduces the risk of human error across teams or users if there are any inconsistencies in the filters being used.
This guide will walk you through how to create, edit and apply Saved Filters in your account.
Creating a New Saved Filter:
- Hover over Catalog and click on Saved Filters from the sub-menu.
- Click Create. This will open a page where you can define your filter.
- Name your filter and (optionally) add a brief description.
- Choose which Data model this filter will be applied to (eg: Engineering, HR or Sales). This will determine which dimensions are available to include in your filter and where it can be applied.
- Select a dimension from the Filters drop-down and define the parameters. Repeat this step as many times as you'd like until you have all the filter components you need.
- Optional: Scroll to the bottom of the page and choose a metric to preview your new filter and test it.
- This will generate both a trend graph showing the data, and an editable table similar to the Inspect tab showing all items which match your filter as well as any additional columns you choose to add for review.
- Click Save & Close.
For example, this filter identifies Urgent and High customer-related issues.

Editing a Saved Filter
When a Saved Filter is updated, the new settings will apply anywhere that the filter is in use. All Saved Filters also show when they were last updated in the list for easy reference.
- Hover over Catalog and click on Saved Filters from the sub-menu.
- Find the filter you want to update in the Saved Filters list and click on the Edit icon.
- Make any changes you want.
- Click Save & Close.
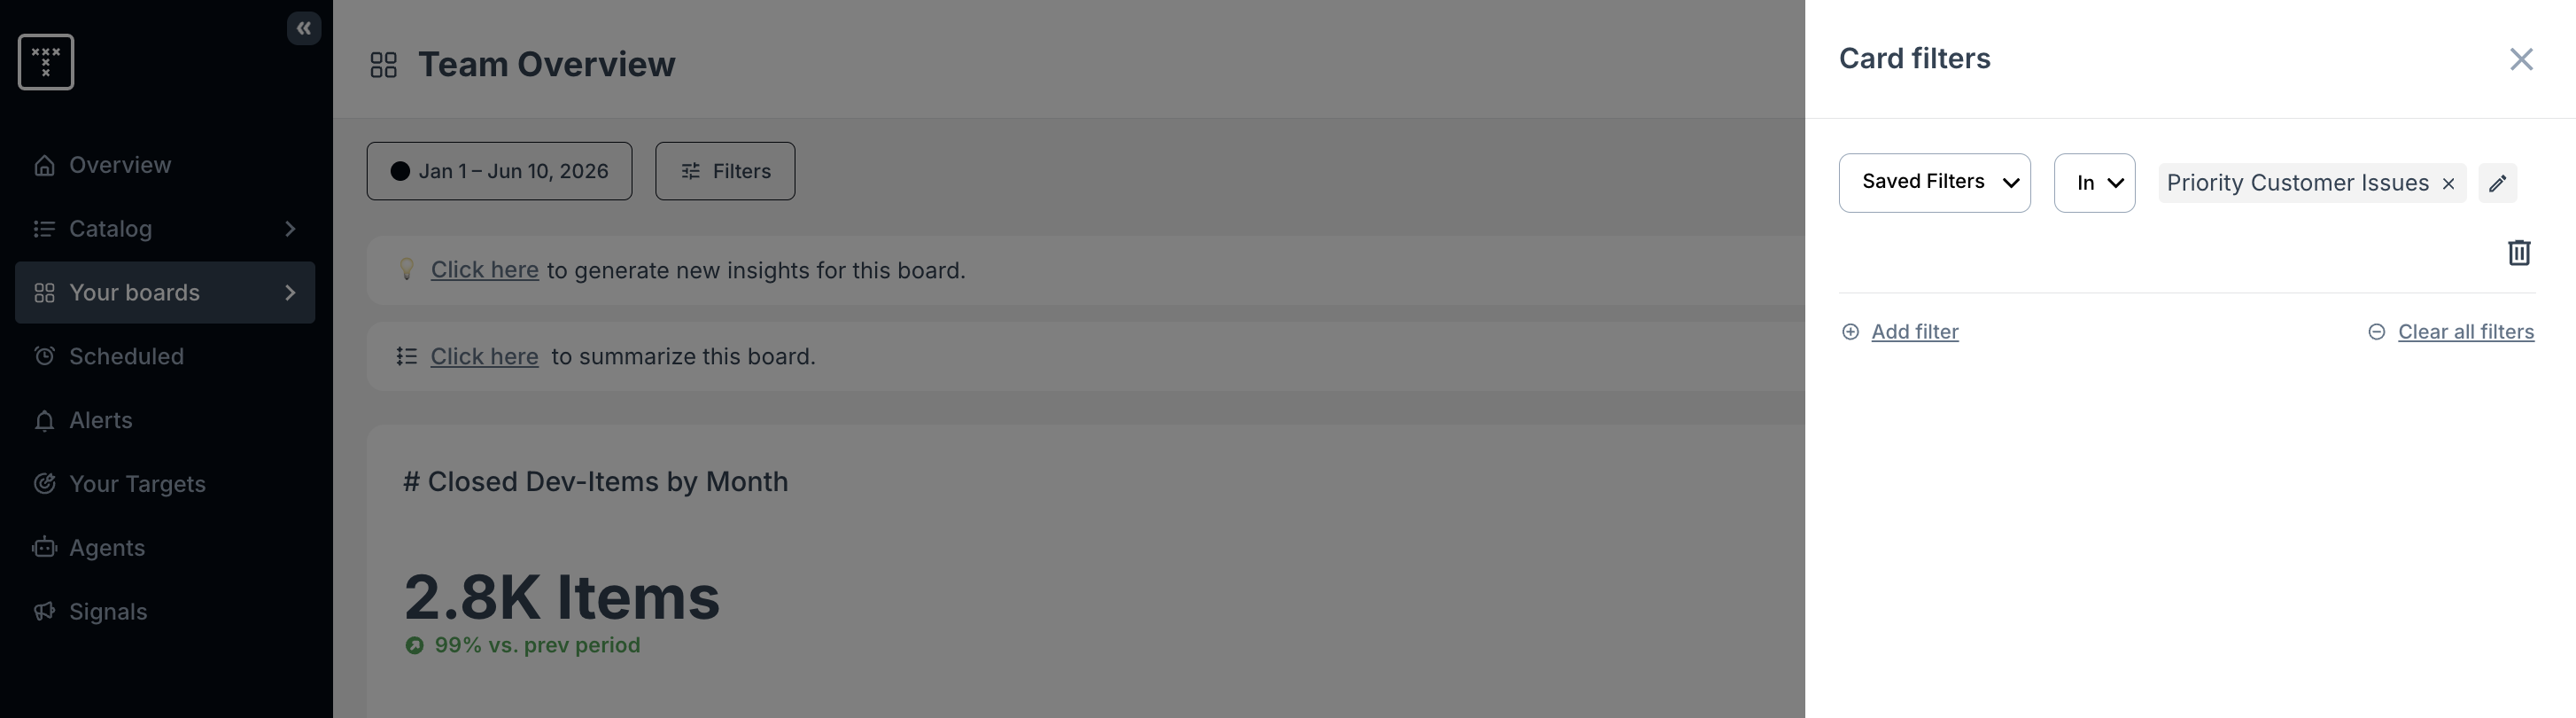
Applying Saved Filters
- Go to the relevant filter interface (Folder/Board/Card) for where you'd like to apply your Saved Filter. Full guidance for each of these can be found here.
- Select Saved Filter from the drop-down menu.
- Choose the Saved Filter you'd like to apply and click Done.
How did we do?
Core Concepts & Terms
Board Permissions